Chrome Silencer Repair


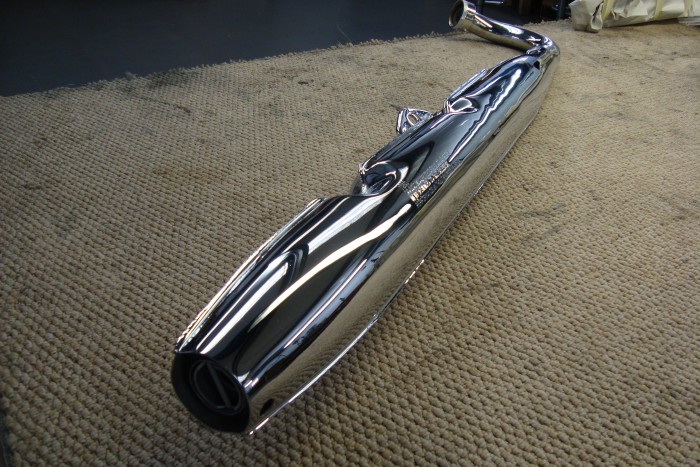
This exhaust silencer was taken from our own Suzuki T 250 Hustler restoration and as with all these 40-year-old classics they have a story to tell. In this particular case, it had some nasty creases and dents, but the condition of the original stamping was good.

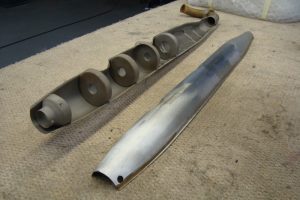
We chose to split the exhaust into two pieces to give us access to the dents and in the process re-welded the baffles.

With minor dents and scraps, we can tig braze and make successful repairs at a reasonable cost.

Before

Before Tap Restoration

After

Before Tap Restoration

The Exhaust Repair Process


Tap Restoration Step 1

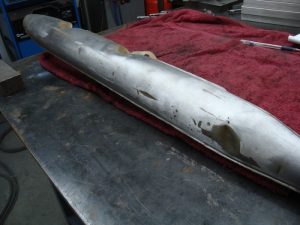
The first stage with these silencers is to clean them out to remove all the old carbon deposits and then to Chrome and Nickel strip them. We then take a very light polish to the surface of the silencer to highlight any dents and scratches. As you can see from the picture our silencer has some very nasty dents.

Tap Restoration Step 2

These dents were just too deep to fill with our conventional tig braze. So the only way forward was to split open the silencer and dress them out from behind. This was quite a useful method because in the process we found a loose and corroded baffle which we were able to repair at the same time.

Tap Restoration Step 3

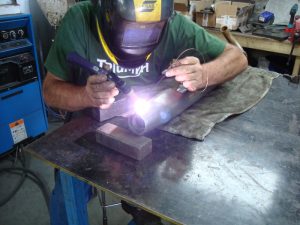
Once all the dents were removed we pre-polished the parts before seam welding the two sections back together again. After welding the silencer is polished again ready for Chrome plating.

Tap Restoration Step 4

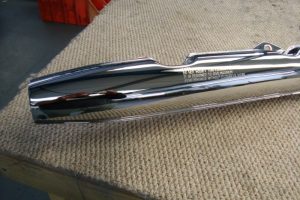
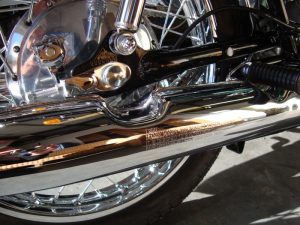
The finished polished Chrome silencer preserves all its original stamping “T 250 Do Not Modify This Silencer”.

Tap Restoration Step 5

The finished Suzuki T 250 exhaust all original and worthy of a concourse restoration.

Tap Restoration Step 5

These parts were restored as part of a nut and bolt restoration on our own 1971 Suzuki T 250 which is now on display in our office.